


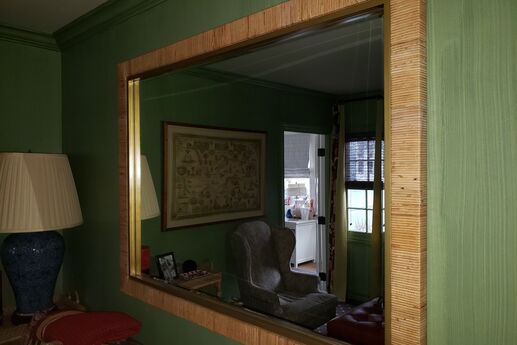
How to Make an Entry Mirror
How about creating something functional and attractive this weekend?
What it costs: $125
What You’ll Need
Cutting List/Diagram
Project Diagram from Lowes
16” x 58” beveled mirror
5/16” x 36” oak dowel
Four 1/4” x 3/8” x 1” steel spacers
Four 3/8” x 1/2” x 1” steel spacers
18” Hangman picture-hanging system
1/2” square bumper pads
*See cutting diagram for lumber list
Miter saw
Drill with driver bits and #8 countersinks
3/16-inch drill bit
Random-orbit sander with abrasive discs
Carpenter’s square
Bar clamps
#10 x 3” flathead sheet-metal screws
#8 x 1 1/2” flathead sheet-metal screws
Titebond wood glue
8 ounces minwax ebony interior stain
Minwax paste finishing wax
Minwax semigloss aerosol polyurethane
Paintbrush and rags
INSTRUCTIONS
Make a Frame
1. From an 8' 1" x 4" and 1" x 6", cut the narrow stile A, top rail B, wide stile C, and bottom rail D to length (Cutting List/Diagram).
2. Assemble the frame (Project Diagram) using glue and clamps.
3. When the glue is dry, sand the mirror frame with 120-grit followed by 220-grit sandpaper.
4. From 3/16" hardboard, cut the back E, narrow fillers F and G, and wide fillers H and I to size. A Lowe’s associate can rip the material into strips that are 21-3/4", 1-3/4", and 3-3/4" wide (Cutting Diagram) and crosscut the back to length. Cut the remaining hardboard parts to length at home using a miter saw.
5. Sand the hardboard with 120-grit sandpaper to roughen the surface; glue the filler strips around the perimeter of the back with the edges flush.
6. Use a mirror adhesive to secure the mirror into the recess created by the back assembly filler strips.
